
This article is to show how to collect full logs using the SymDiag tool as well as collecting Agent logs from the Enforce Console.
The Symantec Diagnostic (SymDiag) is a utility designed for troubleshooting and identifying common issues that customers encounter.
A. Collect Logs Using SymDiag Tool
B. Collect Agent Logs from Enforce
C. Collect General Enforce and Detection Server Logs
=====================================================================
A. Collect Logs Using SymDiag Tool
Appliance/Linux Customers
1.For Appliance customers make sure your Enforce and or Detection server is on IDACT 3.0-11 or newer.
2. Download and start the SymDiag (symdiag.run) tool (https://knowledge.broadcom.com/external/article?legacyId=tech170752) and place on system from which logs are needed. Place in /tmp directory.
wget -P /tmp/ https://repo.insightdlp.com/Vul/symdiag.run
chmod 777 /tmp/symdiag.run
3. Run the tool
cd /tmp
sudo ./symdiag.run
4. Collect/offload the symdiag output file.
5. Provide the symdiag log to support for further review.
Windows Customers
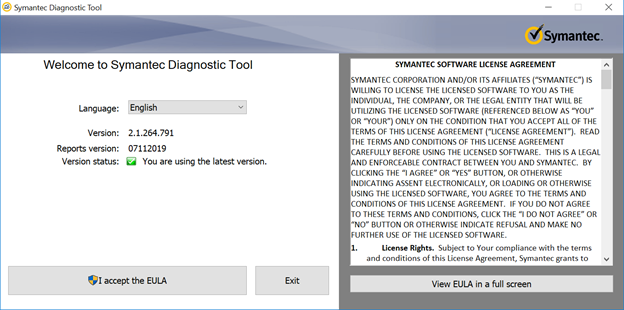
1. Download and start the SymDiag tool (https://knowledge.broadcom.com/external/article?legacyId=tech170752) and place on system from which logs are needed

2. When you launch SymDiag, it first verifies the version status with Symantec. If there is a newer version of SymDiag available, SymDiag updates itself automatically. Click I accept the EULA to continue.
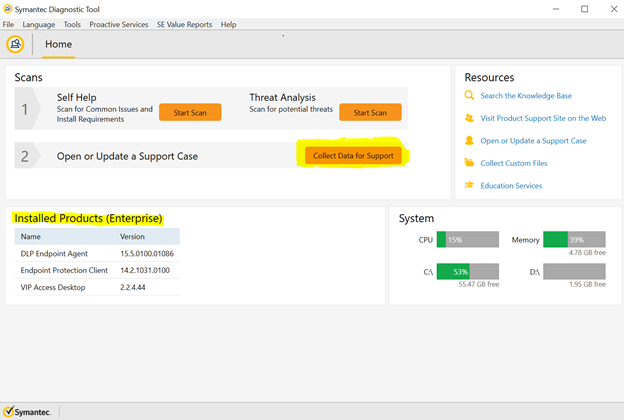
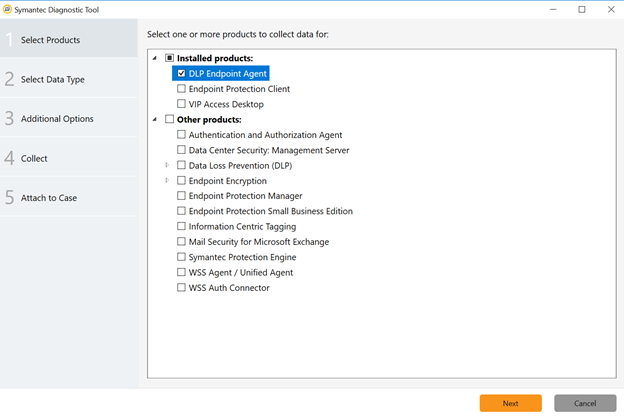
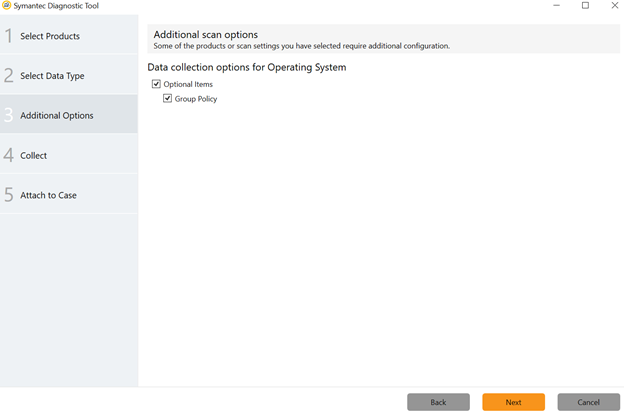
3. On the Home screen, click Collect data for support, and in the dialog that opens, select the product(s) for which you need to collect the data. Then click Next.
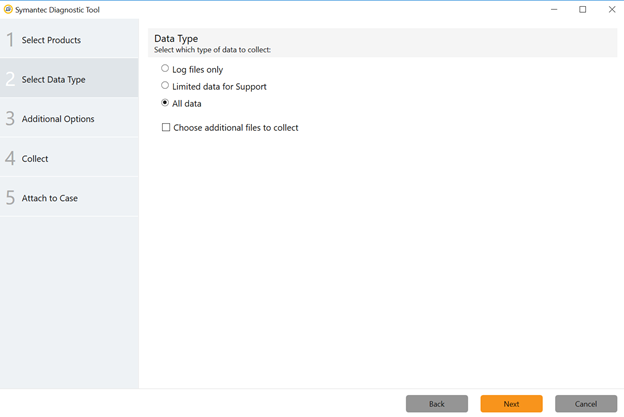
4. Unless directed otherwise by the Technical Support Engineer for your case, select All Data, then click Next.
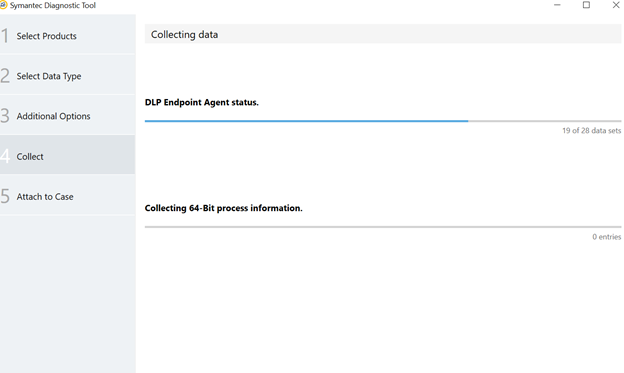
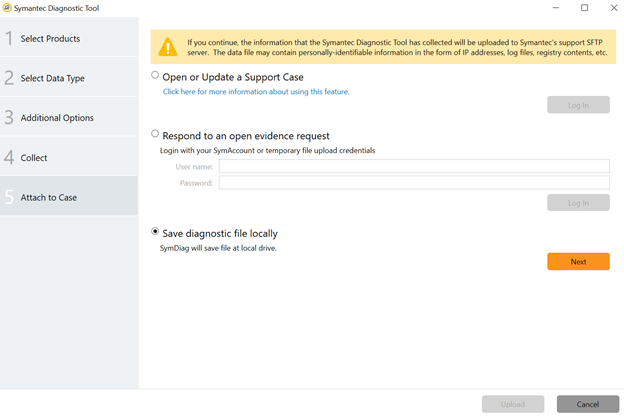
5. When SymDiag completes the scan collection, the “Save the report file” screen appears. Fill in the customer information, then do the following:
- To save a local copy of the report to your desktop click Save.
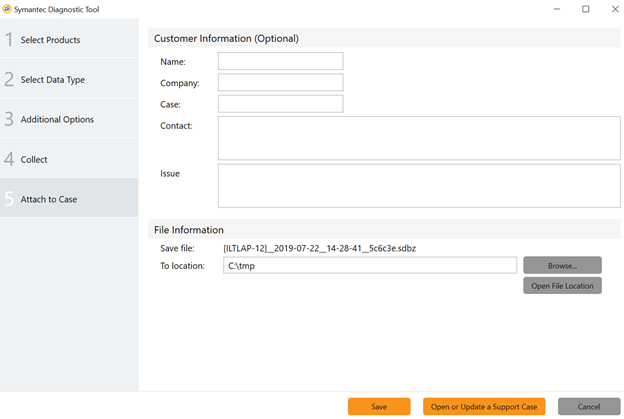
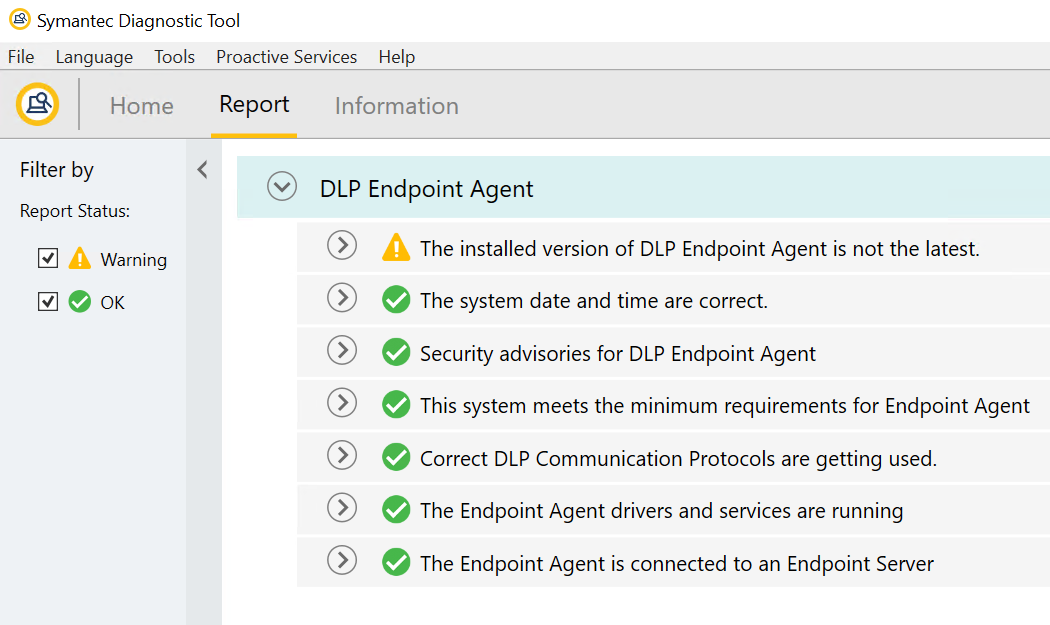
6. Screenshot of the "Report" Page
=========================================================================
B. Collect Agent Logs from Enforce
Before collecting log files you will want to have the FINEST level logging set, then duplicate the issue, and then collect the logs.
To set log levels to finest:
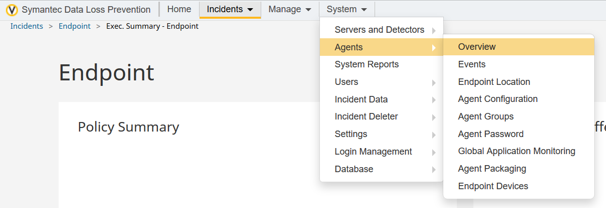
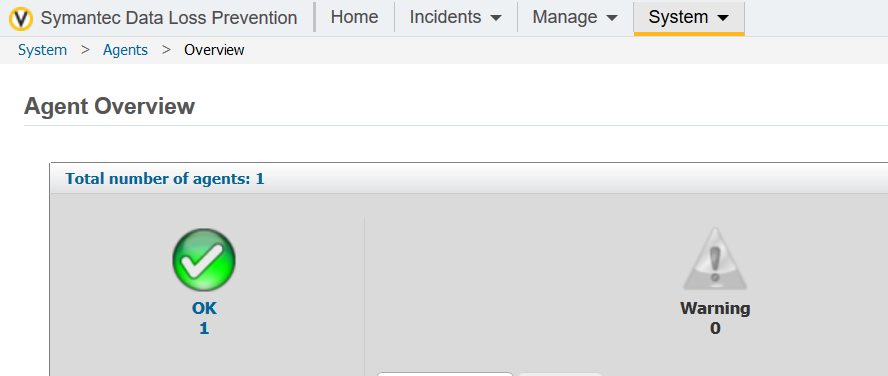
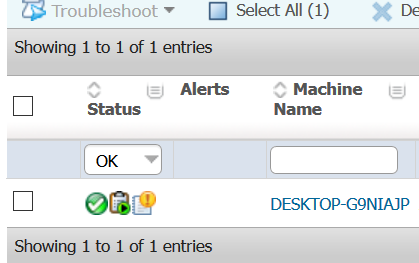
1. Browse to the Agent Overview. System > Agents > Overview.
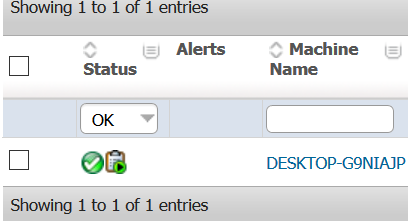
Click the number under the green checkbox to view the OK clients.
2. Check the checkbox next to the agent you want to increase the logging level for.
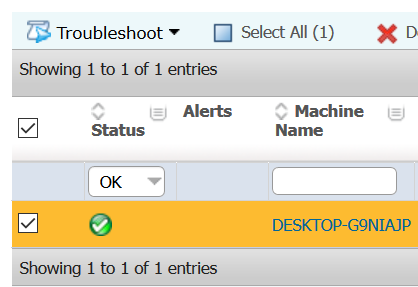
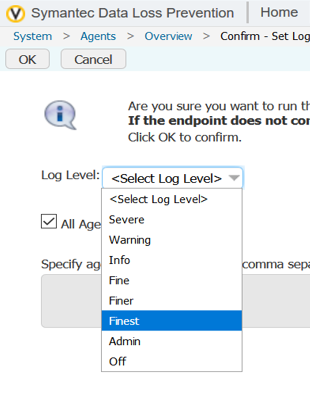
3. Click the Troubleshooting dropdown and select "Set Log Level"

4. On the Log Level drop-down select "FINEST". Leave all agent logger components checked then click OK
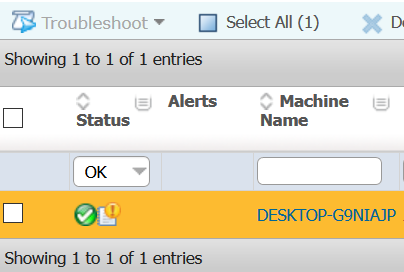
A Task Running icon (clipboard with a play button) will appear next to the agent. If the agent does not communicate with the server in the configured timeout window then the task will timeout and the logging level will not be increased. If that is the case then check the client communication.
When done should look like this to show log levels were changed:
Steps to Collect Agent logs from Enforce
Gathering the Endpoint Agent logs directly from the Enforce UI is a two step process in which an Endpoint Agent task is sent from the Enforce Server to the Endpoint Agent. Once the task is complete, then the logs can be gathered from the Endpoint Server.
Step 1: Instruct Agent to upload files to Endpoint Server
1. Go to System>Agent Overview and Select the affected agent.
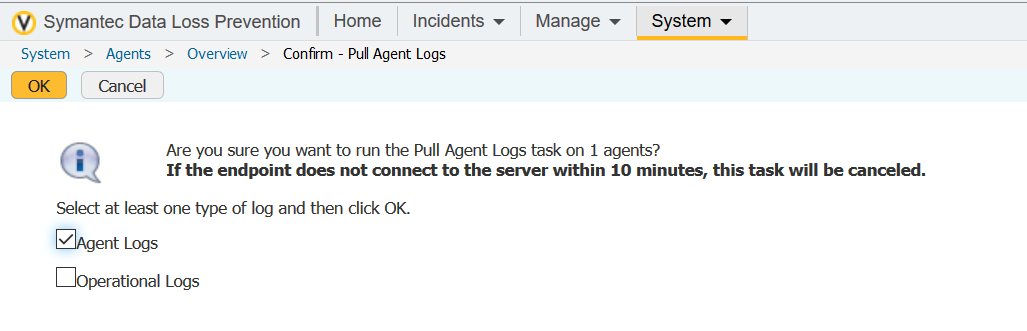
2. After selecting the affected agent, select the drop down menu and select "Pull Logs".

3. Select Agent logs then click OK.
A task running icon (clipboard with play button) should now appear next to the agent. Once the log files have been collected from the agent this should disappear. Wait for the task running icon to disappear before moving to step 2.
Step 2: Collect logs from Endpoint Server
Once the task has been sent to the Endpoint Agent use the following steps to gather the Endpoint Agent logs from the Endpoint Servers.
- Go to System> Server> Logs
- Select the drop down and choose the Endpoint Server
- Select the Agent logs dialog box and Enforce logs (if needed)
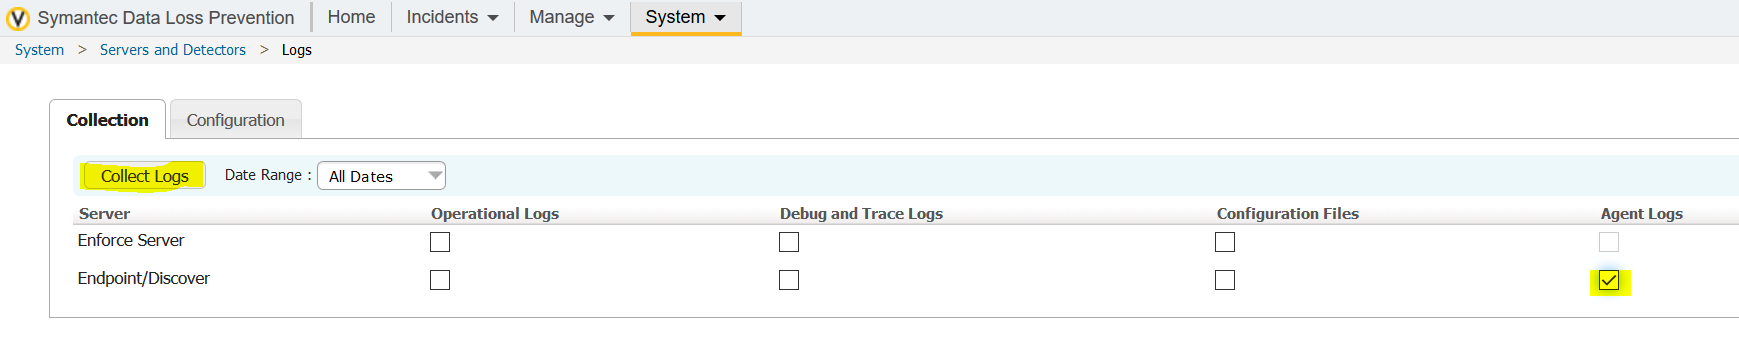
4. Select Collect Logs button
An "in Progress" and "waiting to receive files from x servers" message should appear below the check boxes.

Once the log files are available a link will appear to download a .zip that contains the logs.

Send both SymDiag Tool .sdbz file and Endpoint Agent .zip file logs to INSIGHT Support
=========================================================================
C. Collect General Enforce and Detection Server Logs
Step 1: Collect logs
- Go to System> Server> Logs
**Set "Diagnostic Logging Setting" accordingly, if needed - Select the drop down and choose the Detection Server (If applicable)
- Select "Date Range" = Last 24 hours.
- Selected "Operational Logs" and "Debug and Trace logs"

4. Select Collect Logs button
An "in Progress" and "waiting to receive files from x servers" message should appear below the check boxes.
5. Once the log files are available a link will appear to download a .zip that contains the logs.
6. Send .zip file logs to INSIGHT Support
0 Comments